From the moment we bought our home, I knew I wanted to incorporate a hammock into the backyard somehow. We had a hammock before, and absolutely loved the relaxation we had kicking our feet up and laying in it for hours!
I had done a search online for DIY hammock stands, but mostly what I found were portable, non-permanent stands, or “cheaper looking” solutions.
I know those would be fine for most situations, but I wanted something that was:
- a permanent fixture of the landscape
- attractive to look at, adding character to the backyard
- built to last a long time and a lot of use!
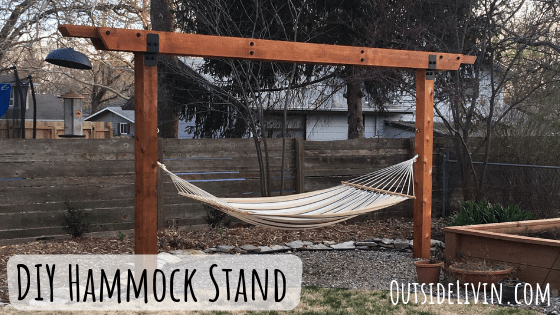
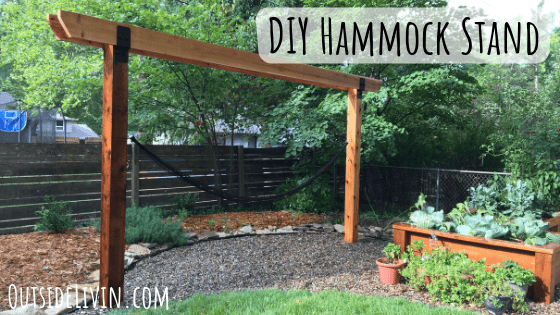
With those criteria in mind, and with my past design & construction experience, I came up with my own plan for a simple DIY hammock stand or wooden hammock arbor that not only works for us and fits amazingly well into our landscape, but also one that is easy enough for the average DIYer to tackle.
I used rough sawn cedar for the lumber, to give it a rustic outdoors look, and gave it some simple Mission style with the end cuts and the metal brackets & hardware used.
Like what you see?!
…If so, let’s get a hammock stand built for you to sit back and enjoy in your backyard!
Here are the tools & materials you’ll need to complete the project just as I have.
Tools Needed:
- Post hole digger & shovel
- Tape measure & pencil
- Hammer
- Circular saw
- Level
- Impact driver & drill
- Large screwdriver
- Paint brush
Materials Needed:
- (2) 6×6 rough sawn cedar – 12′ length
- (2) 2×8 rough sawn cedar – 16′ length
- (1) 4×6 rough sawn cedar – 8′ length
- (2) OZCO Ironwood 8″ Post-to-Beam Inline Connector 2 Pack
- (2) OZCO 1 1/2″ Hex Cap Nut (10 pack)
- (1) OZCO 1/4″ x 3 3/4″ Timber Screws (25 pack)
- (2) 3/8″ x 4 7/8″ stainless steel lag screw hook
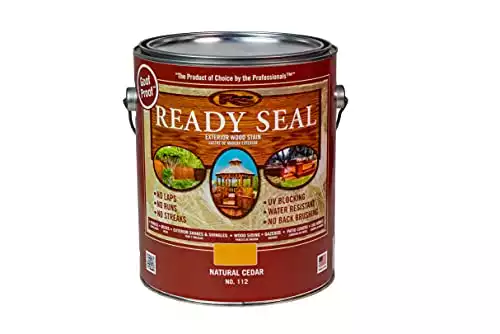
- (1) Natural Cedar stain
- (4) Concrete mix bag
- 2×4 lumber – (1) 16′ length & (2) 8′ length (for temporary angle-bracing to hold square from layout on ground to lifting into place)
- Handful of 3″ screws for temporary connecting and bracing
Note: If your budget is a little tighter, you can certainly use pressure treated lumber for your DIY hammock stand instead of rough sawn cedar, which will bring the cost down considerably. It’s just a matter of budget and personal taste which you want to go with. You can use cedar stain/sealer on CedarTone pressure treated lumber and give it a similar finished look as real cedar, if that’s the way you want to go.
A Quick Run-down of the Building Process:
- Measure & purchase materials
- Dig holes
- Cut lumber
- Lay out frame (2 posts & 2 top rails) on the ground, temporarily connect with screws and attach temporary bracing lumber
- Lift up and drop posts into holes
- Level & plumb frame all directions, brace with lumber and stakes
- Pour concrete mix into each hole
- Cut and attach second beam & 4×6 cedar pieces
- Remove braces
- Stain/seal cedar
- Install decorative metal brackets, screws & hex caps
- Install lag screw hooks
- Hang your hammock, relax, and enjoy!
That’s a pretty good summary. Let’s run through each in detail…
1. Measure & Purchase Materials
The total length of the hammock stand, including the decorative top wood pieces is 18 feet from end to end, but the posts are 13 feet apart, on center.
With those distances in mind, measure out a space in your yard where you want the hammock arbor to be, making sure that you have enough space first, of course. Mark where the holes need to be dug.
Then get your materials purchased so you’re ready for the project!
2. Dig Holes
With post hole diggers (either “old-fashioned” or “the easy way“), dig a hole 4 feet deep for each post. Using 12′ 6x6s as I did, this will give you 4 feet of post in the ground and 8 feet above ground.
3. Cut Lumber
The nice thing about this project is not a whole lot of cutting is needed.
- Cut 6×6 posts to 12 feet long
- Cut the 2×8 beams to 16 feet long, and then cut the angled detailed on each end. This design detail is up to you, but I cut a 30 degree angle, starting 2 inches down from the top of the board, and over about 3 inches.
4. Lay Out Frame
This step is up to you how you want to install the frame…You can set the posts into the holes and level & plumb them individually, or as I did, lay it out flat on the ground first, and lifting into place later.
I was working individually, and wanted to make sure each post was perfectly square with the other, so I liked the idea of laying it out on the ground first.
Mark the beam where your two posts will be. Your posts will be 13 feet apart from center to center, leaving 1 foot 6 1/4 inches from each post out to the ends of the beams.
Doing this, simply attach one beam to the top of the posts (the other beam you will attach one the frame is standing up), making the top of the beam flush with the top of the post. Just put one screw into each post to start with, that way you can move the posts slightly to square it all up.
After you have made sure you have a 90 degree angle between each post & beam – I use the 3-4-5- Squaring Method – add 2 more screws to each beam/post connection, for a total of 3 screws at each post/beam. There will be heavy duty metal brackets used later in the process to hold everything firmly together, so these screws are just to get us by until it’s up and in place!
Then, making sure everything is still square, screw on the 16′ 2×4 at an angle from one post to the other and put a couple of screws in each end. This temporary bracing board will ensure everything is kept square while you hoist it up and into position.
5. Lift Into Place
After you make sure your holes are 4 feet deep, cleaned out, and ready to go, and your frame is square and braced, you can slide the structure into place with each post lined up with the two holes in the ground, and with some help, lift the structure up, letting the bottoms of the posts slide down into the holes.
6. Level & Plumb
Using your level, first make sure the horizontal beam above is level. If one end is lower than the other, have some help lifting the low end, throwing some soil at the bottom of the hole and pressing back down, repeating until you’ve raise the lower post up enough to make the top beam level.
Then, with the structure level from end to end, you can plumb each post. Attach an 8′ 2×4 to the end of each post, about 5 feet up from the ground, with one screw, so it can swivel freely. Hold your level on the side of the post, and move the post slightly until the post is plumb (perfectly upright).
Once you’ve got it plumb, hold the post perfectly in place while you have a helper attach the end of the 2x4s to stakes in the ground. These will hold the hammock stand structure in place until the concrete is set up.
7. Fill Holes with Concrete
After you’ve made sure the stakes and braces are holding your posts sturdily and steadily in a plumb position, you can fill each hole with 2 bags of concrete, add a little water, and tamp down with a scrap wooden board or stake.
If the concrete doesn’t fill all the way up to the ground surface level, you can fill the remainder with soil.
8. Add Second Beam & 4×6 Cedar Pieces
With everything firmly in place and not moving, install the second beam, flush with the top of posts and lined up exactly in line with the beam on the other side, and attach with a few screws at each post.
I then cut my 8′ 4×6 cedar board into 2 decorative pieces for the ends, and 2 blocks for stabilizing the beams in the middle.
The decorative end pieces are each 2.5 feet long and have a 30 degree angle cut out to match the detail on the beams, starting down 1 inch from the top and angling over about 2 inches or so.
Once cut, you can hammer them into place between the two beams, making the top of the decorative piece flush with the top of the two beams, and attach with a couple of screws through each beam.
I added two blocks (5 1/2″ wide) inside the beams, 1) for stability, and 2) to support a future swing if I ever wanted one in place of the hammock. The blocks are 5 feet apart (about the width of a two person porch swing) and about 3 feet 3 inches from each post.
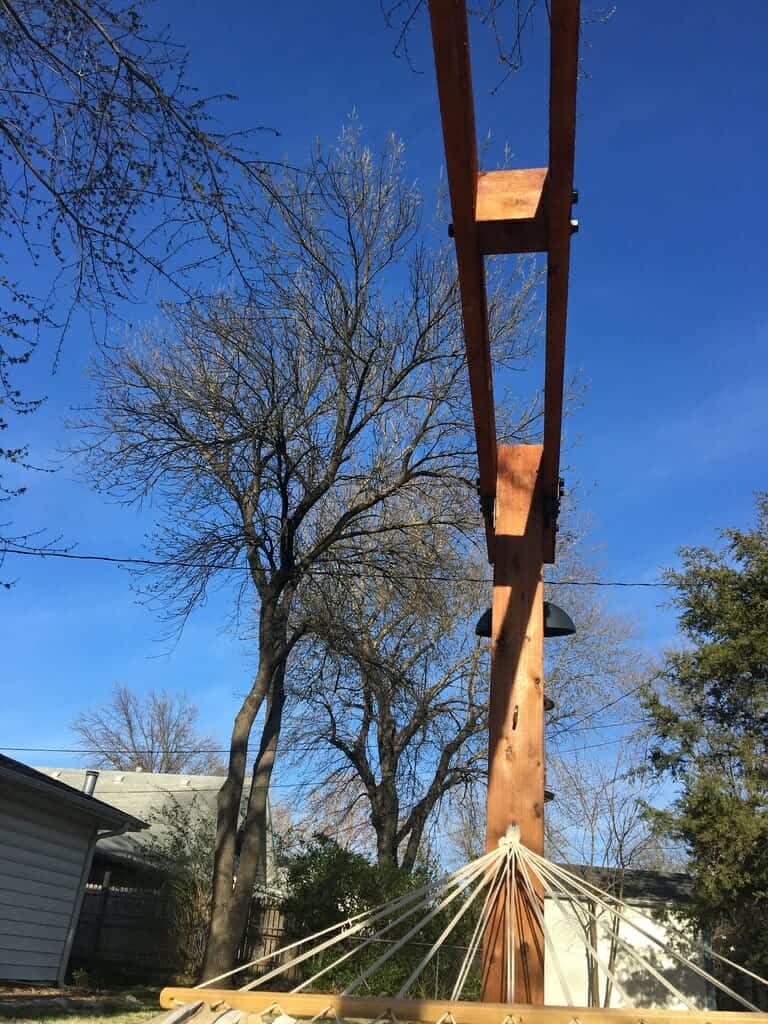
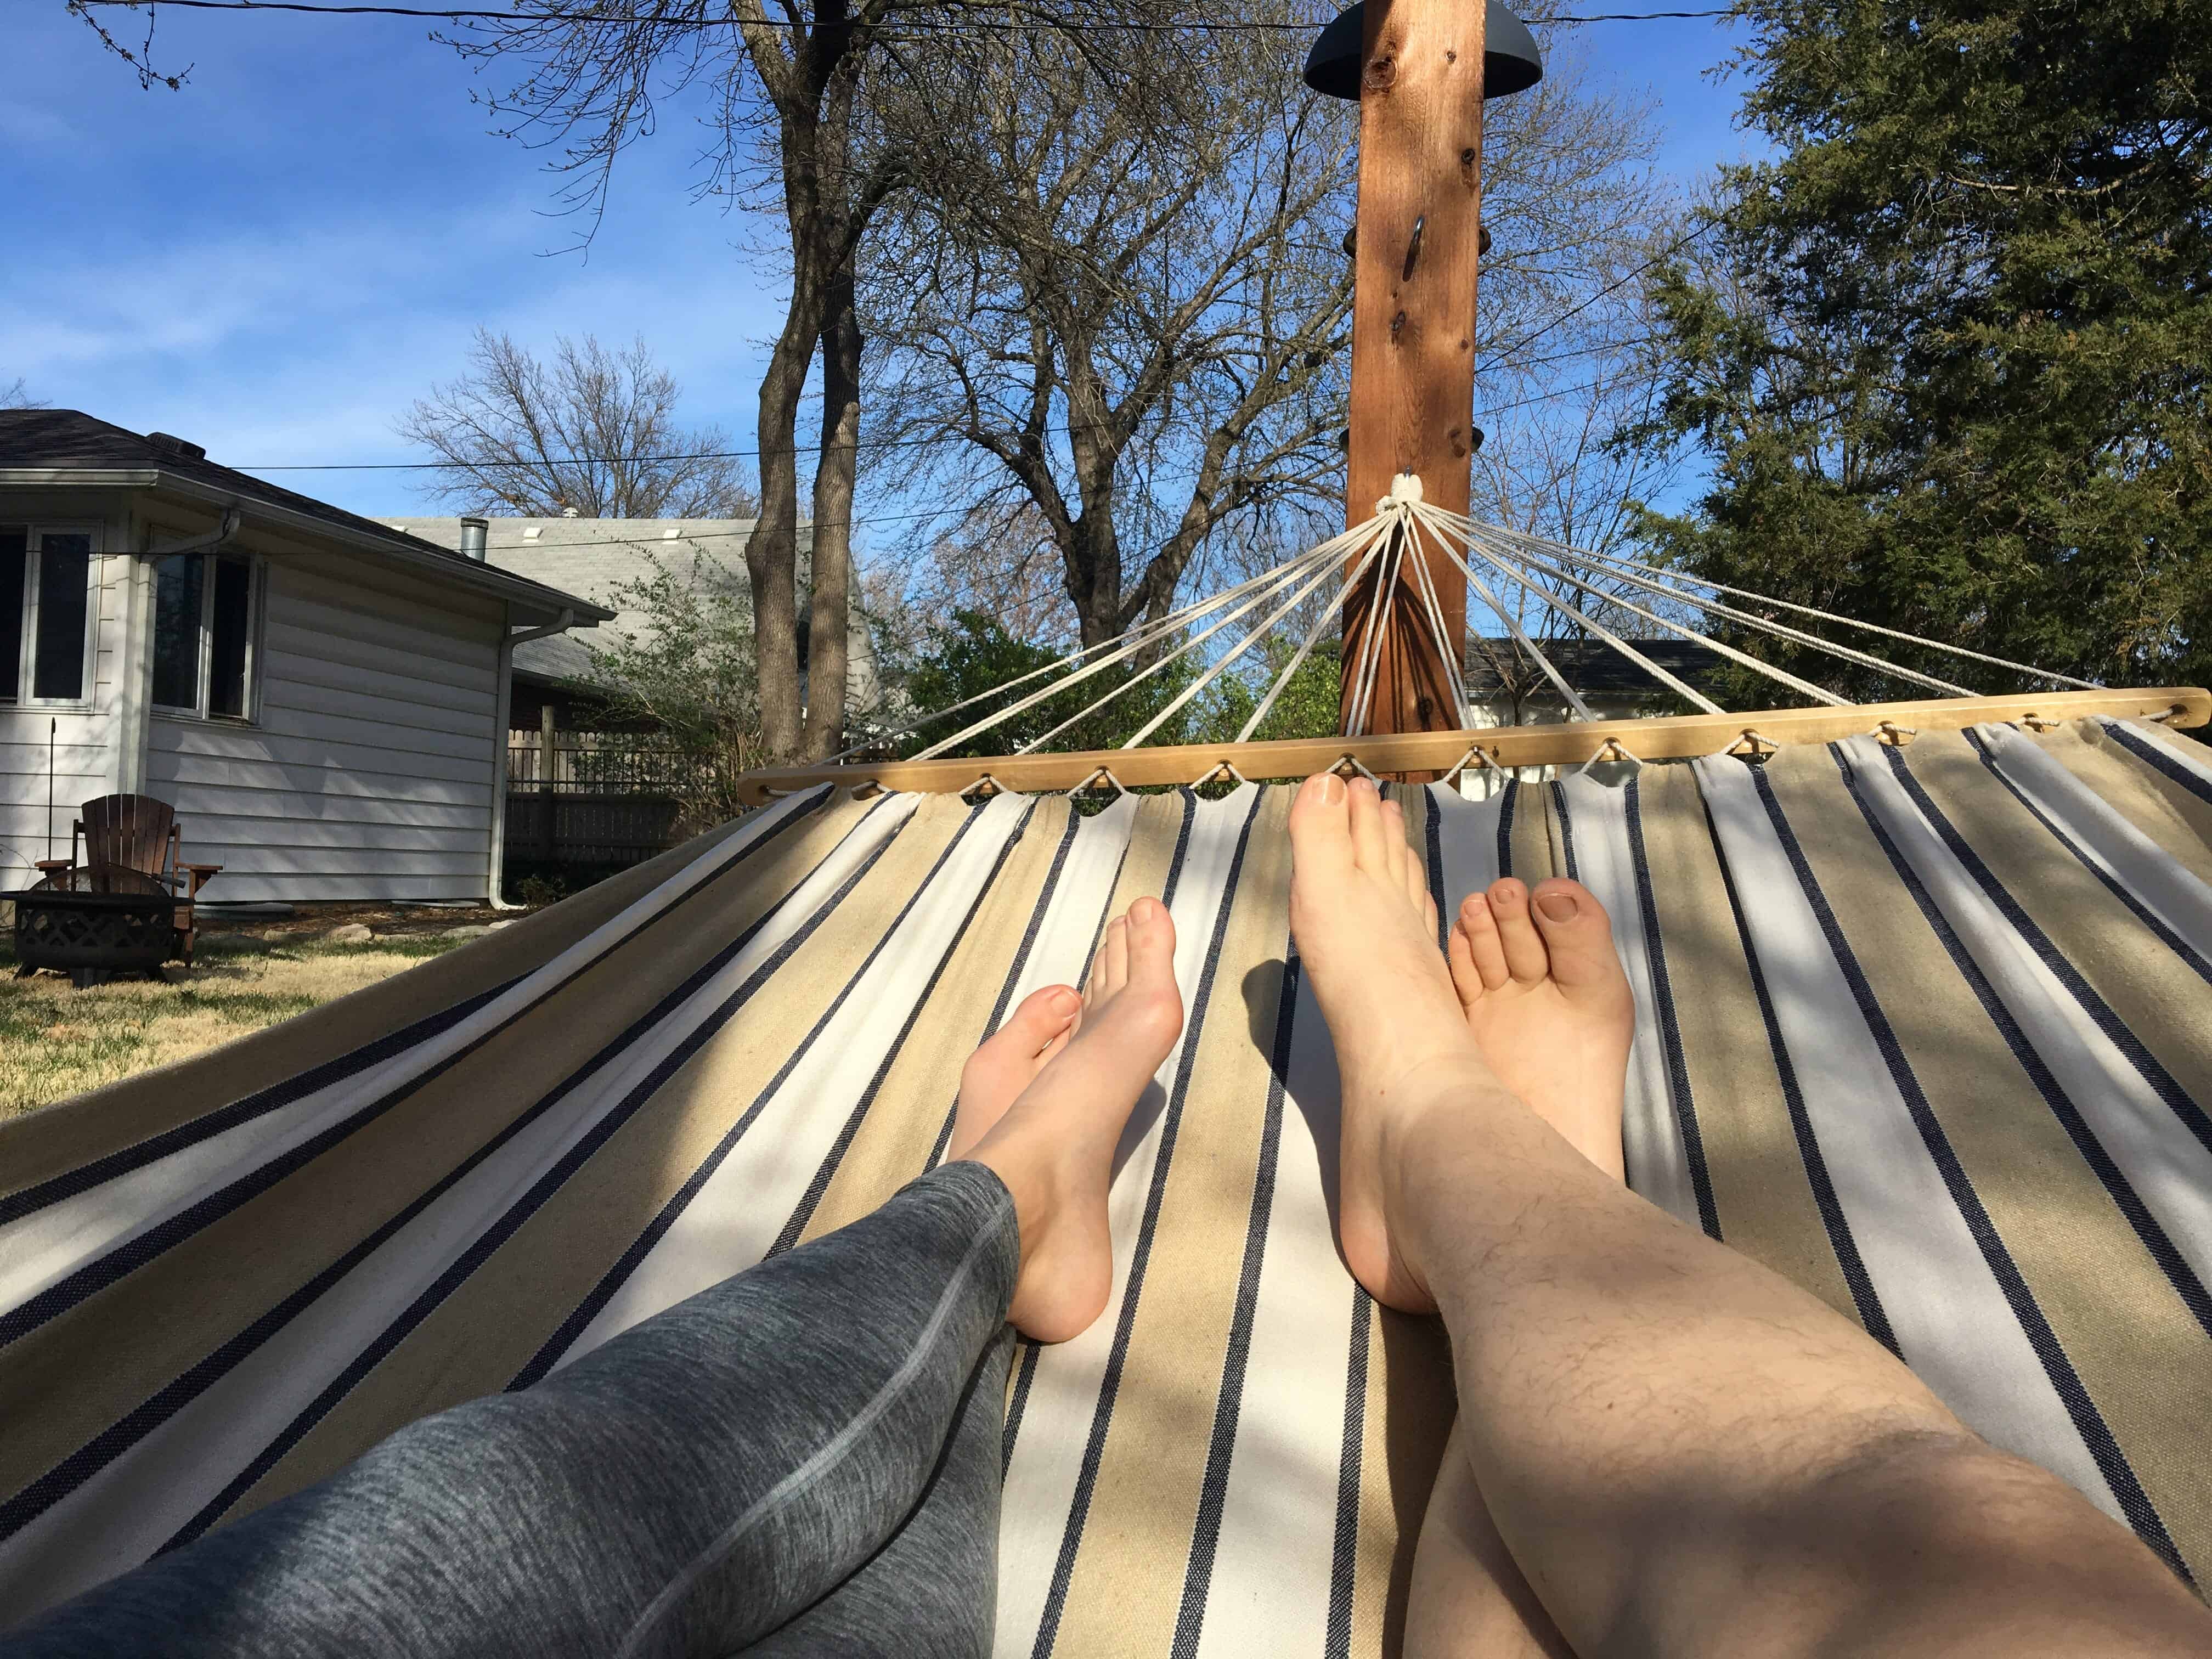
Here’s a look from the hammock up toward the cross beam and 4×6 blocks inside.
9. Remove Braces
After you’ve given the concrete time to set up, about a day or so, you can remove the temporary braces.
10. Stain & Seal Cedar
Before attaching the finish hardware, you’ll want to stain the wood…whether you’re using actual cedar or pressure treated lumber. Natural cedar fades quickly to grey, so a cedar colored stain will keep it that fresh cedar color for a long time, and sealing the lumber prolongs the life of the structure as well.
Simply apply the stain & sealer with a brush and give it time to dry!
I used this stain & sealer…
11. Install Brackets, Screws & Caps
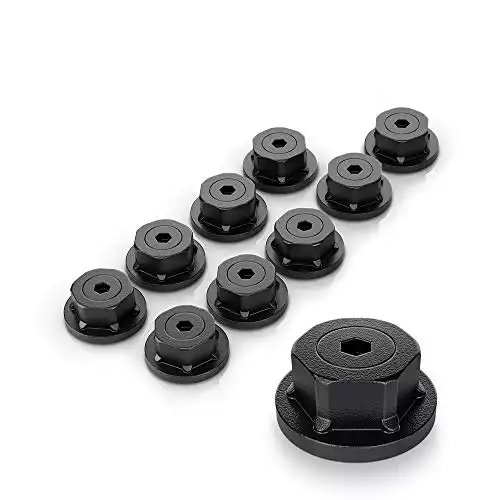
I used OZCO Ironwood brackets, screws, and hex caps to finish off the Mission look of the structure. It’s important to add these AFTER staining & sealing the lumber…it would take far too much time to try to stain/seal around the black hardware if it were already in place.
For each post & beam connection, I used the Ironwood 8″ Post-to-Beam connector hardware.
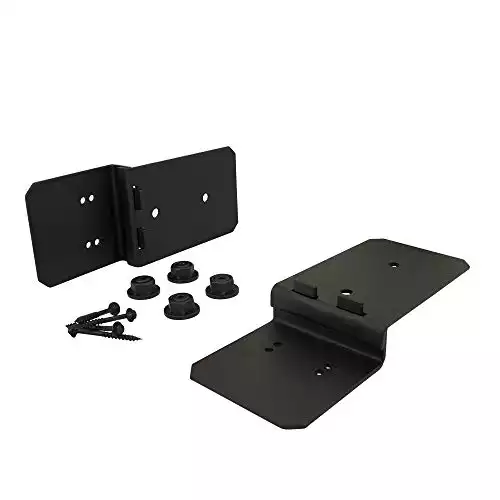
Here’s what it looked like with the post to beam connectors (before I added the 4×6 decorative end pieces)…
But it was still missing a finishing touch…So, I used a couple of OZCO Timber screws and Hex Cap Nuts at each end of the beams to connect into the 4×6 decorative pieces, and in the middle of the beams to connect into the 4×6 blocks. That makes a total of 16 screws and hex cap nuts.

12. Install Lag Hooks
Now you’re so closed to finished, I can almost feel it!
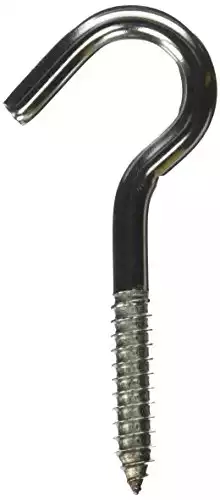
Measure and mark a spot in the center of each post, 4 feet up from the ground. Pre-drill a 1/4″ hole a few inches deep into the post. Then screw in the lag hook, first by hand, and then using a large screwdriver to give you leverage as you finish turning it all the way into the post with just a the hook showing.
13. Hang Your Hammock!
Now’s the time you can sit back, relax, and enjoy the fruits of your labor, in your new custom DIY hammock structure!
There are a ton of choices for hammocks on Amazon, all different materials, sizes, colors, and to match all budgets.
I chose one that had these things I think are important to have in a hammock:
- Wooden spreader bars – without them, a hammock tends to suck in on you when you sit in it – not very comfortable!
- Heavy duty rings on each end
- Fabric that dries quickly and stands up to the elements
- Wide enough for 2 people

BONUS: Hang A Couple Bird Feeders
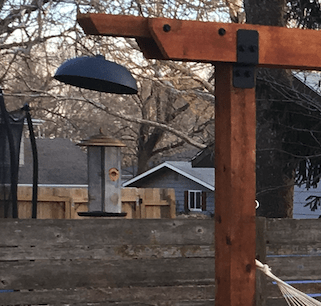
We also wanted to hang a couple of bird feeders from our hammock stand, utilizing the decorative extensions on each end of the arbor.
This is totally optional, of course, and separate from the hammock project itself.
If you would also like to hang a bird feeder or two, or perhaps a hummingbird feeder, from your own hammock stand, here’s what you’ll need to do…
- Measure in 3 inches from the end, and centered from side to side, and make a mark
- Pre-drill a 1/8″ hole for a lag eye hook to easily get started screwing into
- Screw in a 1/4″ lag eye hook
- Hang your new bird feeder, and enjoy!
Other Outside Livin’ Articles You May Find Helpful Regarding Hammocks:
- Portable Hammocks
- Hammock Beds & Hammock Swings
- Hammocks with Stands
- Hammocks with Bug & Mosquito Nets
